How to install kali linux on Windows 10/11 without virtualbox or dual boot

Kali Linux, renowned for its powerful suite of penetration testing tools, is typically associated with running on dedicated hardware or within a virtual machine. However, for those who prefer a native installation on their Windows system without the use of virtualization tools like VirtualBox, this guide will walk you through the steps to unleash the potential of Kali Linux on your Windows environment.
So, let’s get started!
Step 1:Enable Windows Subsystem for Linux
- Open the Windows Features settings by searching for “Turn Windows features on or off” in the Start menu. Or you can go to the “Control Panel” and then navigate to “Programs and Features”. On the sidebar, you can open Windows feature settings.
- Scroll down to find “Virtual Machine Platform” and “Windows Subsystem for Linux,” then check the boxes.
- Click the “OK” button, and it will enable the Windows Subsystem for Linux. After that, you have to restart your computer when prompted.
Step 2: Install Kali Linux from the Microsoft Store
- Open the Microsoft Store app on your Windows 11 computer. Then simply search for “Kali Linux” and select the Kali Linux app.
- Click the “Get” button to install Kali Linux on your computer. This will take some time to install, depending on your internet connection. I will skip the installation part.
Step 3: Set WSL 2 as the Default Version
- Next, you have to set Windows Subsystem for Linux Version 2 as the default version. Search for “Windows Power Shell” and run it as an administrator.
- Then you have to enter this command. Ok, now WSL 2 is activated.
wsl --set-default-version 2
Step 4: Launch Kali Linux
- Open the Start menu and find the Kali Linux app. Then run it as an administrator, and it will launch the app to set up Kali Linux for the first time. It will ask you to choose a username and password when prompted.
- You can enter any username and password, then verify them. You can see that Kali Linux is now running on your machine. Let’s see how to set up the graphical user interface for this Kali Linux OS.
Step 5: Update Kali Linux
- Now that Kali Linux is installed and launched, you’ll want to update it to the latest version before installing the GUI. You just need to run a few small commands. Just copy and paste them below.
- First, run this command to update the package list.
sudo apt update - It asks you to enter the root password that you set. This will take some time to update all the packages.
Step 6: Install the Win-Kex Desktop Environment
- To use Kali Linux with a graphical user interface, you’ll need to install the Win-Kex desktop environment. Win-KeX provides a Kali Desktop Experience for the Windows Subsystem for Linux with several features.
- For that, you just have to enter this command, and it will begin the installation. Wait until it is finished.
sudo apt install -y kali-win-kex
Step 7: Launch the Win-Kex Desktop Environment
- With the Win-Kex desktop environment installed, you can launch it in window mode, enhanced session mode, and seamless mode.
- You can use any of them. I am going to run in seamless mode. You need to enter this command to run Kali Linux in seamless mode.
kex --win - It will ask for some firewall permissions, but you can allow them safely. You can try other modes also check this article for more information.
- Now it is running on your computer.
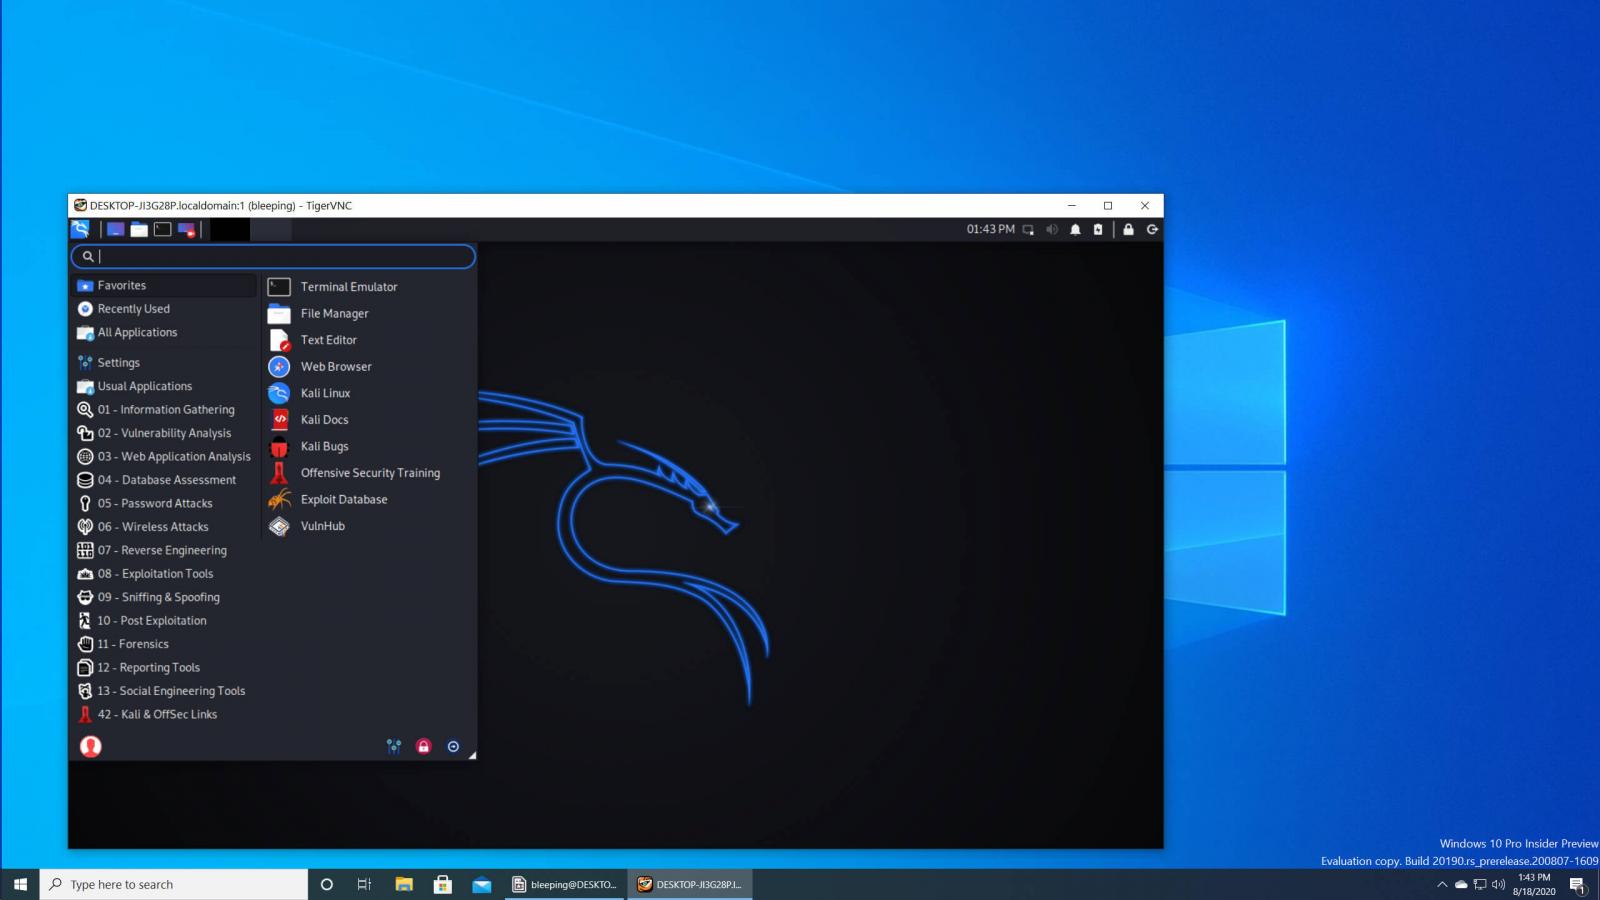
- To enter the Kali Linux GUI, open the Kali Linux terminal using the app. Then type “kex” and enter. When you enter it for the first time, it asks you to enter a password. You can enter whatever you want.
- Then ask if you want this to be set as the view-only password, so type “N” here; otherwise, you didn’t be able to use the Kali Linux GUI.
- Congratulations! You’ve successfully installed Kali Linux on Windows 11 using the Windows Subsystem for Linux and set up the graphical user interface! With Kali Linux installed, you can now use it for penetration testing and ethical hacking on your Windows 11 computer.